
From Breadboard to PCB: How Makers Build Professional Electronics Projects

Every electronics enthusiast starts the same way—with a breadboard full of jumper wires, loose components, and plenty of trial and error. Breadboards are perfect for testing ideas, but they rarely survive beyond the prototype stage. Loose connections, tangled wiring, and bulky layouts quickly become frustrating, especially as projects grow more complex.
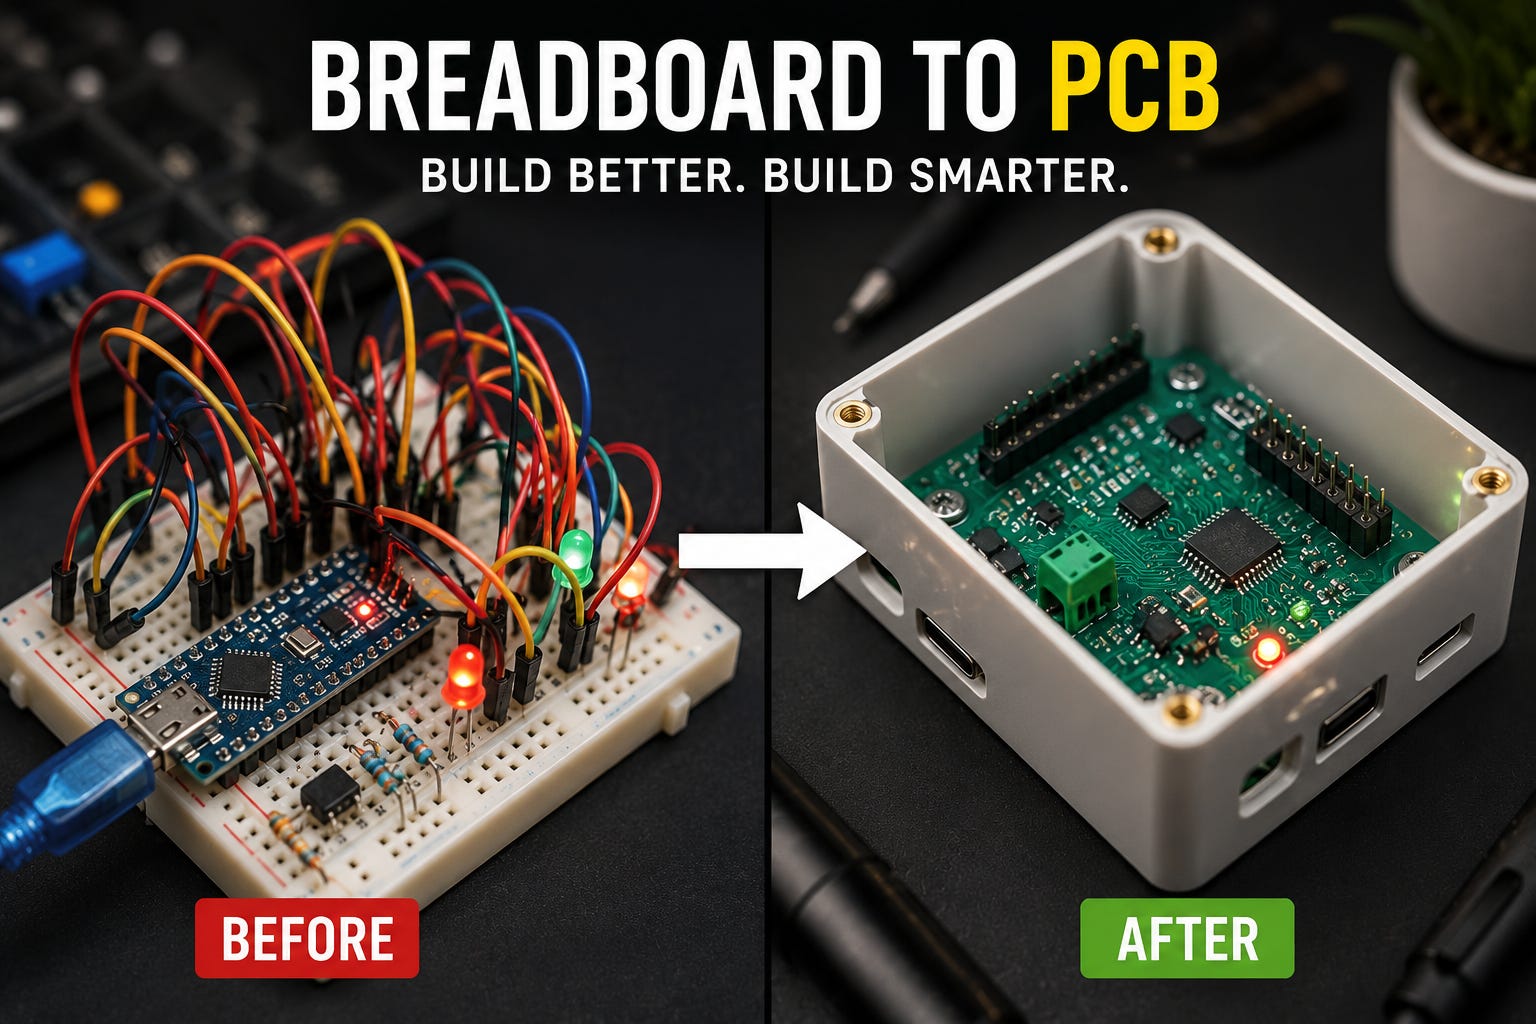
The next step in every maker’s journey is learning how to design printed circuit boards (PCBs), improve soldering skills, and package projects inside professional-looking enclosures. These skills don’t just make projects look better—they improve reliability, simplify debugging, and create hardware that is ready for demonstrations, competitions, or even commercial products.
Whether you’re building an Arduino project, a Raspberry Pi system, or a custom embedded device, moving from a breadboard to a finished PCB is one of the biggest milestones in electronics.
Why Breadboards Are Only the Beginning
Breadboards remain one of the best learning tools for electronics because they allow rapid experimentation without permanent connections. Developers can swap components in seconds, modify circuits, and troubleshoot ideas before committing to a final design.
However, every maker eventually discovers their limitations. Jumper wires can become tangled, accidental disconnections are common, and larger projects become difficult to organize. Long wire runs may even introduce unwanted electrical noise, making circuits less reliable.
This stage is not a failure—it’s a sign that a project has outgrown its prototype. Once a design becomes stable, creating a dedicated PCB is the logical next step toward a cleaner, more dependable solution.
